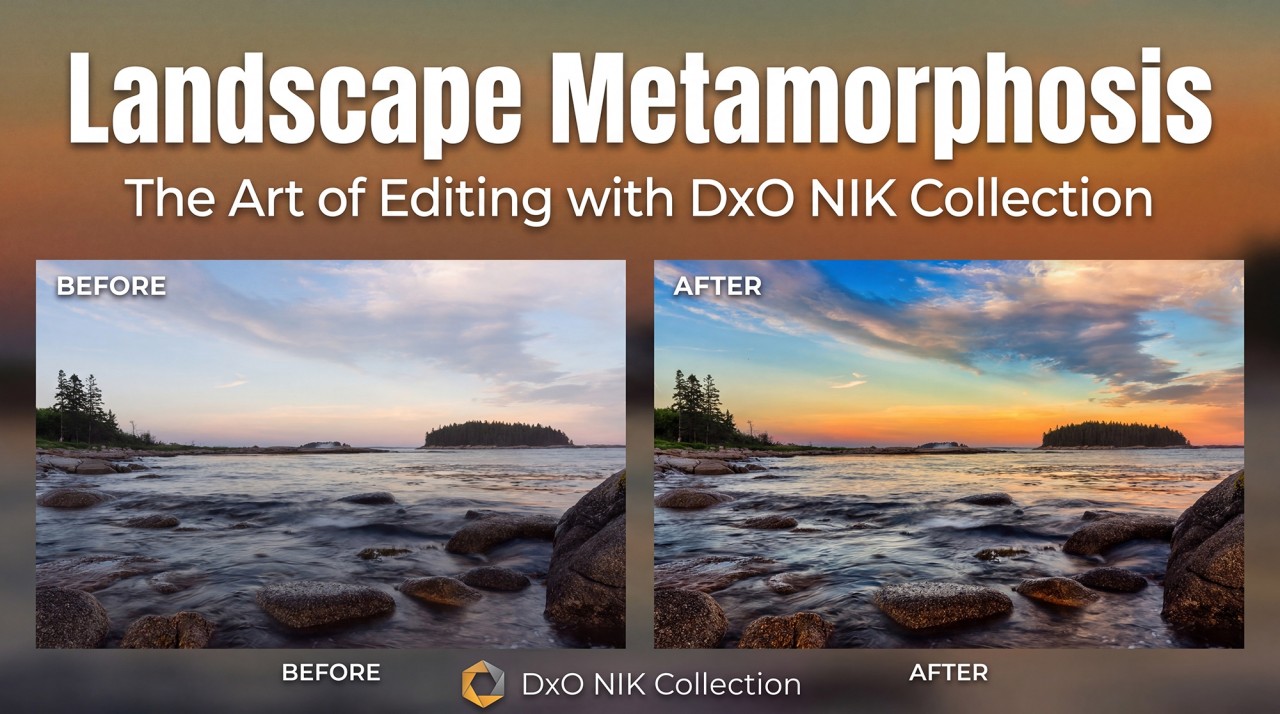
Landscape Metamorphosis: The Art of Editing with DxO NIK Collection
Saturday October 10th, 2026. Transform your landscapes with DxO Nik Collection using powerful tools for color, light, contrast, depth, and atmosphere.
Recording Of This Class Available Now
Landscape Metamorphosis Transforming Landscape Photographs with DxO Nik Collection 9
A Three-Part Editing Workshop:
Take your landscape photographs beyond the basic edit. In this three-part workshop, I’ll show you how I use DxO Nik Collection 9 to bring depth, light, color, atmosphere, and impact to landscape images. Rather than simply running through every filter in the software, we’ll concentrate on the tools I actually use and, more importantly, why I choose them for a particular photograph. We’ll work through real landscape images from beginning to end, exploring how subtle adjustments can completely change the way the viewer experiences a scene. You’ll learn how to enhance light without making it look artificial, bring dimension into skies and foregrounds, direct the viewer’s eye, control color, create beautiful black-and-white conversions, and finish an image so it is ready to share, print, or enter into competition. Nik Collection works beautifully alongside Photoshop and Lightroom, giving photographers another level of creative control without replacing the workflow they already know.
Part 1
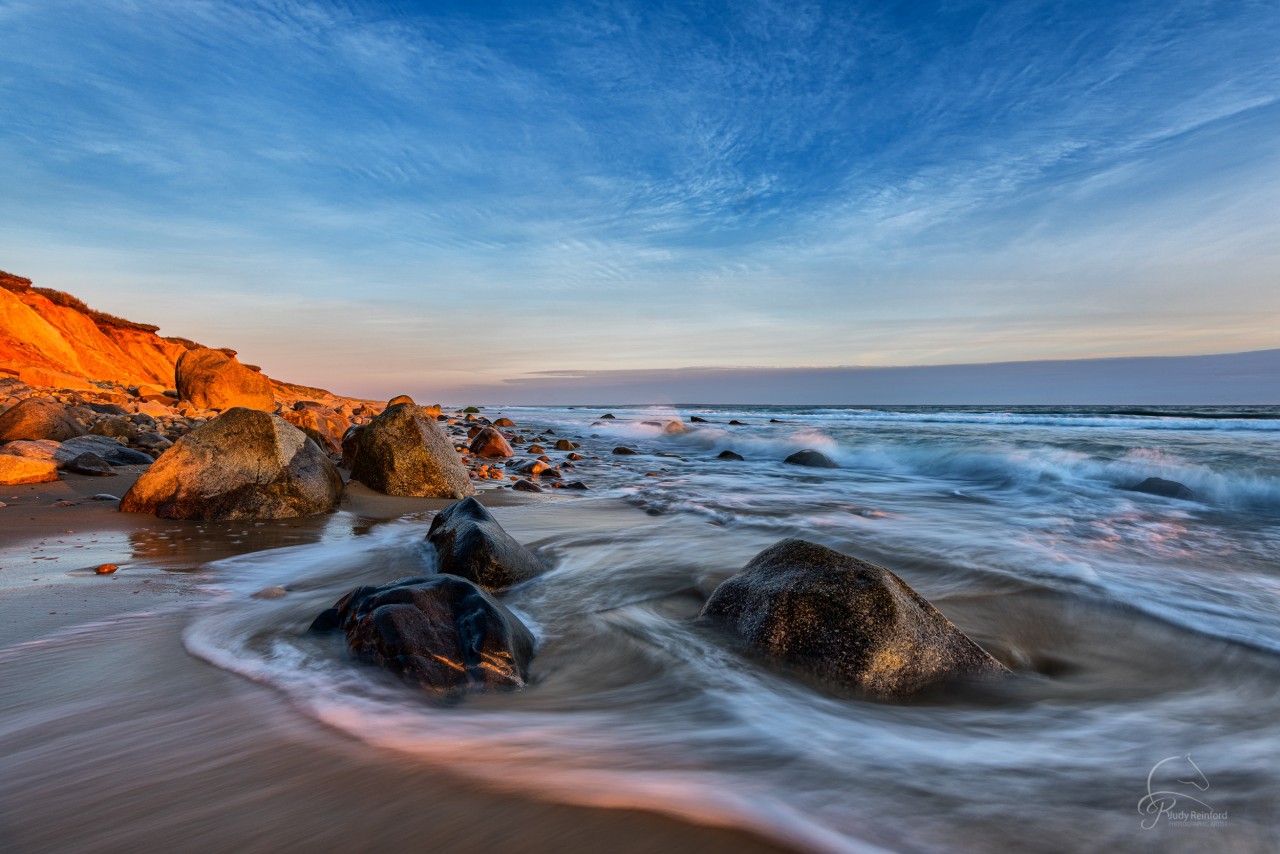
Build the Foundation: Light, Color & Dimension
We’ll begin by understanding how Nik Collection fits into a landscape editing workflow and how to move between your primary editing software and Nik while maintaining control of your image. Then we’ll dive into three of the most useful tools for landscape photographers: Nik Viveza, Nik Color Efex, and Silver Efex.
We’ll explore:
Navigating the Nik Collection interface
Understanding presets versus creating your own look
Using Nik Color Efex to enhance contrast, color and atmosphere
Using Nik Viveza for precise tonal and color adjustments
Using Nik Silver Efex for the best black and white edits
Working globally versus locally
Using U Point technology for targeted adjustments
Enhancing skies without overpowering them
Creating separation between foreground, middle ground and background
Bringing detail into an image without making it crunchy or overprocessed
Using light and contrast to guide the viewer through the photograph
Returning your Nik edit to your primary editing workflow
The goal of Part 1 is to learn how to look at a landscape photograph and determine what it actually needs before you start moving sliders.
PART 2
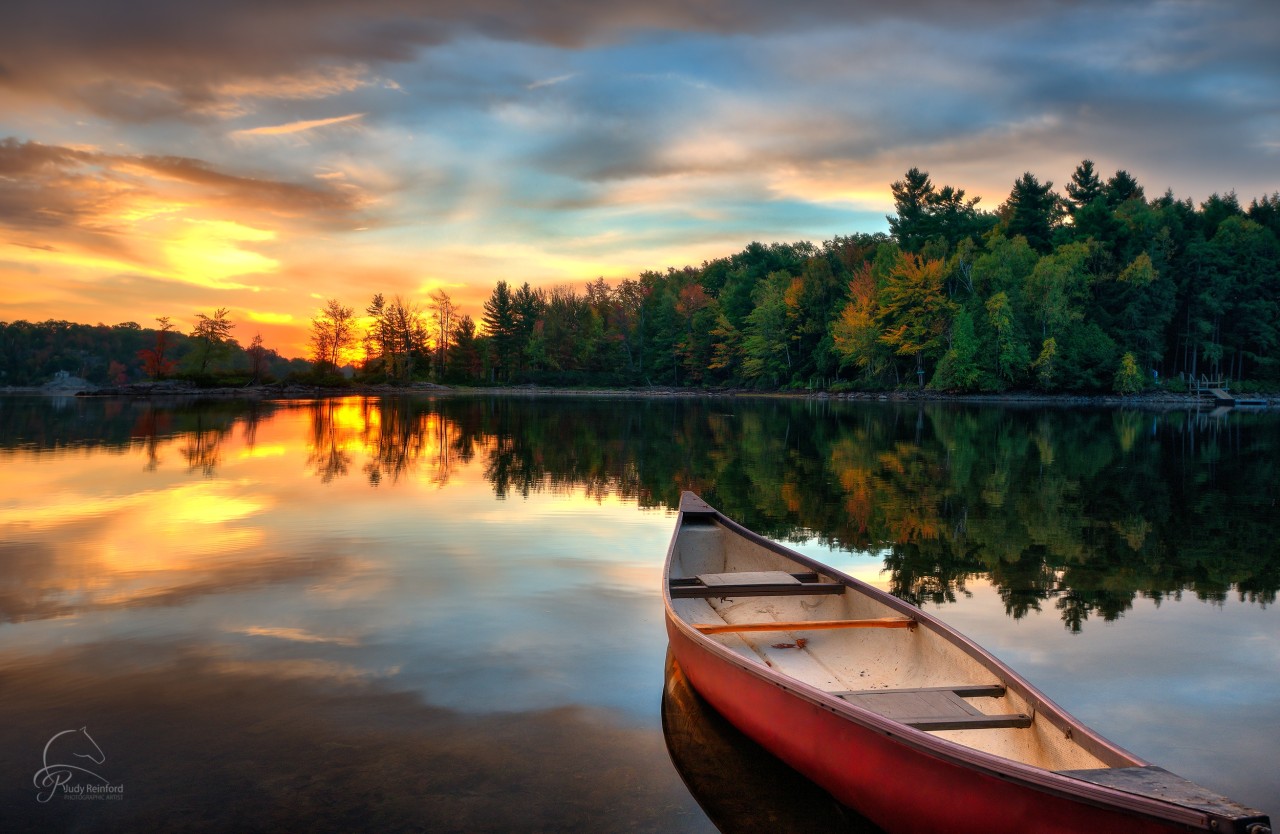
Refine the Scene: Masks, Color Grading & Creative Control
Now we begin taking more control over exactly where our adjustments appear. We’ll move beyond global effects and use Nik Collection's local adjustment tools to shape the photograph selectively.
We’ll explore:
AI-assisted masking: Depth Masks
Local adjustments and selective editing
Controlling adjustments in skies, water, foliage, and foregrounds
Building depth with selective contrast
Creating visual pathways through an image
Advanced Color Efex techniques
Color grading for landscape photography
Controlling warm and cool relationships within a scene
Enhancing sunrise and sunset light
Creating atmosphere and mood
Combining multiple adjustments without over-editing
This is where an edit begins to move from simply making the photograph “look better” to making deliberate artistic decisions.
We’ll also talk about one of the most important parts of landscape editing: Knowing when to stop.
PART 3
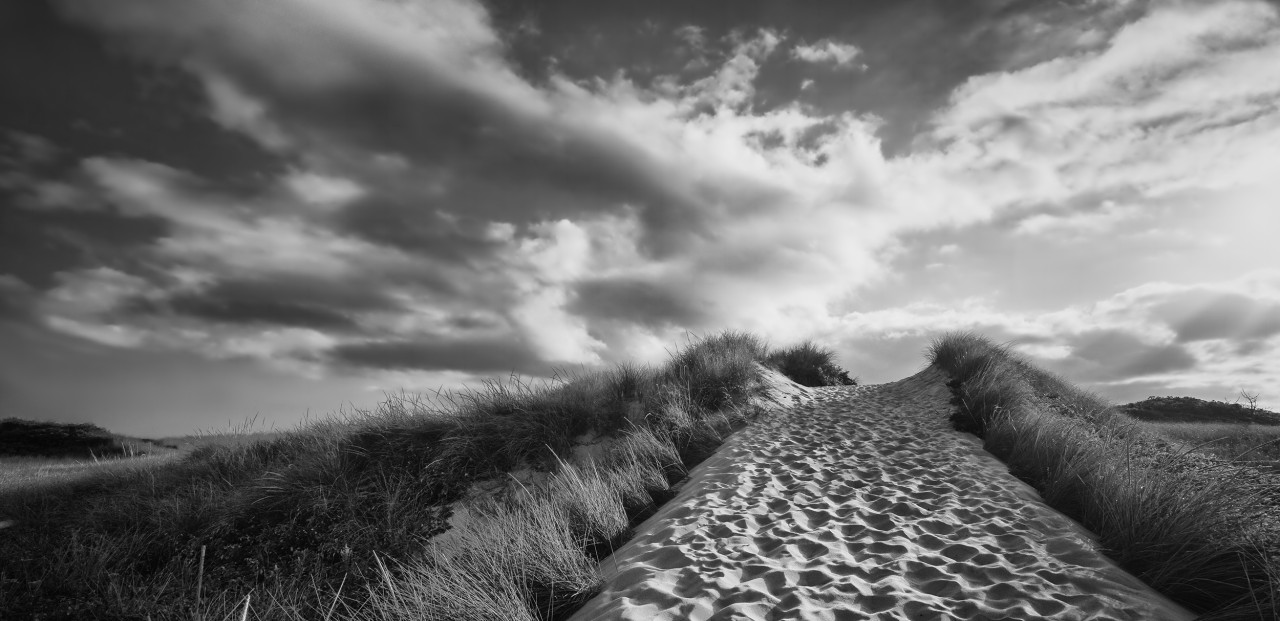
The Finished Landscape: Black & White
We’ll work with Nik Silver Efex to create expressive black-and-white landscapes and look at how color information can be used to control the final monochrome image.
Finally, we'll look at finishing tools in Photoshop that help prepare an image for its final destination.
We’ll explore:
Creating dramatic black-and-white landscapes with Silver Efex
Controlling contrast and tonal relationships in monochrome
Dodging and burning with local adjustments
Creating depth and visual direction without color
Noise reduction when needed
Sharpening as part of the finishing process
Evaluating an image at the end of the edit
We'll finish the day by taking a complete landscape photograph through the workflow so you can see how the different Nik tools work together rather than treating each plugin as a separate program.
THIS CLASS IS ABOUT MORE THAN FILTERS
Nik Collection contains an enormous number of creative possibilities. The trick isn't learning every single one. It's learning which tools matter for your photograph. Throughout this series, I'll show you my decision-making process: what I see when I first open an image, what I want the viewer to notice, which areas need help, which areas need to remain quiet, and how I use Nik Collection to get there. Whether you photograph dramatic coastlines, mountains, waterfalls, forests, lighthouses, sunrises, sunsets or quiet, intimate landscapes, the goal is the same: Create an image that makes the viewer feel what you felt when you stood behind the camera.
Course Curriculum

Judy Reinford
Judy Reinford M. Photog., M. Artist, CR., CPP, MAI
Judy's passion for photography began when she was just six years old. She vividly remembers spending hours in the darkroom with her grandpa, the gentle glow of the red light casting a warm hue over the developing images. There was something magical about watching photos come to life in the developing tray. Her grandpa’s instructions, “don’t turn the light on,” and the silent anticipation as the image emerged, left a lasting impression on her. That early experience in the darkroom sparked a fascination with the art of capturing moments and transforming them into visual stories.
In 1989, Judy graduated from Kutztown University with a BFA in Communication Design and Fine Art Photography. She began her career in photography at Hess’s department store, photographing everything from china to jewelry to bed linens. Judy's interest in pet, equine, and zoo photography developed through her involvement in PPA print competitions. This led to a passion for fundraising and donating her finished work to zoo gala silent auctions. She is currently on the board of The Lehigh Valley Zoo Gala Committee, underscoring her dedication to animal conservation.
Judy's studio specializes in pet and equine photography, offering on-location or studio sessions (though they haven't had a horse in the studio yet—just dogs). Her services include digital mixed-media paintings and fairytale composites of both pets and people. Over the past three years, horses have become a significant passion for Judy. She resumed horseback riding in the summer of 2020 and finds photographing these gentle giants, either alone or with their owners, a rewarding experience.
Her teaching seminars have gained national attention, attracting attendees to PPA Community Partners and Photography Guilds across the country. Even small events have seen participants flying in from afar. Achieving the titles of Master Photographer and Master Artist through the Professional Photographers of America (PPA) was an exciting and challenging journey for Judy. PPA offers these prestigious degrees to recognize the significant achievements of its members. Determined to attain both degrees simultaneously, she completed the rigorous process in less than three IPC competitions, a remarkable feat.
In 2023, Judy embraced the future by becoming an educator in the field of AI, teaching the positive aspects and potential of this technology. She is excited to explore how AI can enhance creative processes and push the boundaries of traditional photography and digital art. This new area complements the extensive Photoshop techniques already covered in her online and in-person workshops. I see the future of photography and art evolving rapidly with the integration of advanced technologies like AI. These tools are opening up new possibilities for creativity and expression, allowing artists to push boundaries in ways that were previously unimaginable. I believe that AI will become an integral part of the artistic process, enhancing our ability to create, edit, and share our work.
In this evolving landscape, I hope to be someone on the cutting edge of these advancements, helping to educate and guide students in using AI in a safe and beneficial way. My goal is to demonstrate the positive potential of AI in art and photography, helping others to see the good it can bring to our creative endeavors. By incorporating AI into my workshops and teachings, I aim to provide students with the knowledge and skills they need to leverage these technologies effectively, fostering a new generation of artists who are both innovative and responsible.
PPA 2026 Diamond Photographer Of The Year
5 Time Diamond Photographer
5 Time GIA Nominee
ASP IOD Image Of The Year 2025
ISAP Photographer Of The Year 2024
ASP Images Of Distinction, Best In Show Spring 2024
IPC 2024 Double Gold Medalist
2019-2022 PPA International Diamond Photographer Of The Year – Photographic Open
2023 PPA North Carolina Photographer Of The Year
2023, 2022 & 2020 Animal Image Makers - Best Equine Image
2023 Animal Image Makers - Best In Show
2023 Animal Image Makers - Master Of Animal Imaging
2021 Animal Image Makers - Accredited Professional Of Animal Imagery
PPNC Photographer Of The Year 2023
TXPPA Best Other Domestic Animal 2023
ASP 2nd Place Best Animal Portrait 2023
5 Time (2019- 2023) ASP State Elite Award
2021 MPI International Image Challenge - Digital Art Photographer Of The Year
2020 MPI International Image Challenge - Fine Art Photographer Of The Year
2020 - PPA International Platinum Photographer Of The Year – Master Artist
2019 WPPI Second Half Competition Third Place Animal Portrait
2019 ASP Bronze Medallion
2020 Imaging USA - Image Excellence Award
2019 ASP District Award 2019
Imaging USA - Craftsman Degree
2018 - PPA International Gold Photographer Of The Year – Photographic Open
2018 - PPA International Gold Photographer Of The Year – Master Artist
2018 ASP State Elite Award
2018 - PPA Northeast First Place Animal Portrait
2018 Imaging USA - Master Photography Degree and Mast Artist Degree
2017 - PPA International Gold Photographer Of The Year –Photographic Open
2017 - PPA International Platinum Photographer Of The Year – Master Artist
2016 - PPA International Silver Photographer Of The Year –Photographic Open
2016 - PPA International Gold Photographer Of The Year – Master Artist